

Large-format tiles, such as 600 × 600 mm and larger, are popular because they create a clean, modern look with fewer grout lines. But the bigger the tile, the less forgiving it is. Any unevenness in the floor shows up as raised edges, rocking tiles or hollow spots.
Here is how our team prepares and installs large-format floor tiles, using photos from a recent residential project.
1. Remove the old floor properly
In this project the existing stone-chip floor was hacked out. Removing the old finish down to a sound base gives the new floor the best chance of a strong, lasting bond.
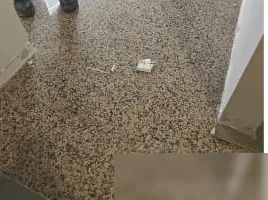

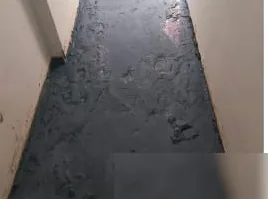
The existing floor, hacking works, and base preparation.
2. Build a flat screed base
A level cement screed is the foundation for large tiles. Because large tiles cannot "follow" dips and bumps the way small mosaics can, the base needs to be flat before any tile goes down.
3. Full adhesive coverage
Large tiles should be fully bedded in adhesive, without voids underneath. Air pockets under a large tile are a common reason for hollow sounds and cracking later on.
4. Use a tile levelling system
We use tile levelling clips between tiles during installation. They hold the edges of neighbouring tiles at the same height while the adhesive sets, which reduces lippage and gives a smooth, even surface.
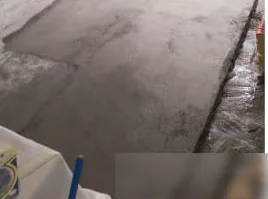

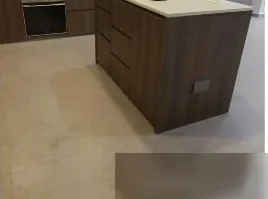
Screed base, tiles laid with levelling clips, and the completed kitchen floor.
5. Grouting and finishing
After the adhesive has set, the clips are removed, the joints are grouted and the floor is cleaned for handover. The result is a seamless floor that runs smoothly from room to room.
💡 Choosing large tiles?
Ask your contractor how they will prepare the base and keep the tiles level. A clear answer on screeding, adhesive coverage and levelling is a good sign the job will be done properly.
Find out more about our tiling services in Singapore, read how we repair hollow and popped tiles, or contact us for a free on-site quote.